Standard Window Sizes: What Every Homeowner Must Know
Standard window sizes make the buying process easier, faster, and more affordable for most homeow...

Roll roofing provides an economical and practical solution for covering low-slope roofs, making it an ideal choice for sheds, garages, and other outbuildings. Unlike traditional shingles, which can be time-consuming to install and require precise layering, rolled roofing comes in large, easy-to-handle rolls that simplify the installation process. This type of roofing is popular among DIY enthusiasts and homeowners looking for a quick and affordable way to protect their structures from the elements. Made from materials like asphalt and mineral granules, roll roofing provides decent durability and weather resistance, especially when properly installed and maintained. Whether you're new to roofing projects or simply seeking a more efficient option, learning how to install rolled roofing can save you both time and money. In this beginner-friendly guide, we’ll walk you through the essential steps, tools, and techniques needed to achieve professional-looking results on your first try.
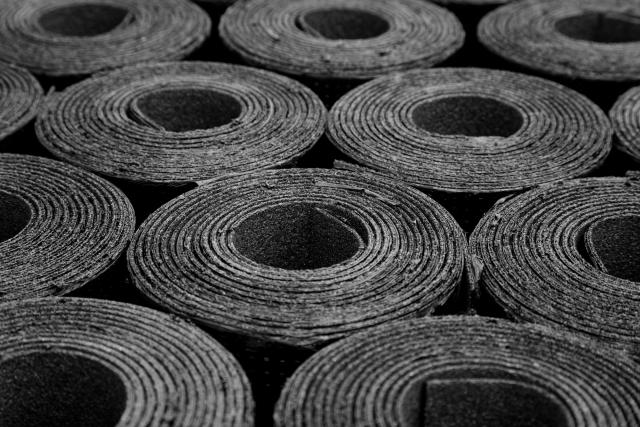
Roll roofing is a type of roofing material made from asphalt and other minerals, sold in large rolls. It’s commonly used on low-slope roofs where shingles aren’t practical. Easy to install and budget-friendly, asphalt roll roofing is a popular choice for sheds, garages, and small buildings. It provides basic protection from the weather and is ideal for quick roofing projects.
Roll roofing is made of asphalt-saturated felt with a mineral granule surface. The base material (usually fiberglass or organic felt) gets soaked in asphalt to create a waterproof barrier. A coating of mineral granules on top provides UV protection and weather resistance. The bottom side has a fine sand or talc coating, so the material doesn't stick to itself when rolled up. This mix creates a flexible yet durable roofing solution that works great for outbuildings, garages, and sheds.
You'll find several types of roll roofing to fit your needs:
Rolled roofing typically lasts 5 to 10 years, which is nowhere near as long as other roofing materials. Several things affect how long it will last:
Roll roofing is well-suited for buildings that require temporary protection or have limited budgets, despite its shorter lifespan. Professional installation and regular maintenance will help you maximize the benefits of this budget-friendly option.

Your project needs these items:
A push broom helps with cleaning, tin snips work well for trimming metal flashing, and underlayment provides extra protection. Roll roofing doesn't strictly need underlayment, though.
The right amount of materials depends on accurate measurements. Measure the length and width of each roof section. These measurements help calculate the total square footage.
Square and rectangular roofs need simple length times width calculations. Roofs with irregular sections need separate area measurements that you add together. Buy 5-10% extra material to handle overlaps, trimming, and valley coverage. Standard rolls come in 36 to 39-inch widths, so include this in your calculations.
Building regulations must be considered before you start the installation. A rolled roof needs a minimum slope of 1:12 (8% slope) according to most building codes. You might need permits if:
Building codes often make manufacturer specs legally binding. Mineral-surfaced roll roofing must meet ASTM D3909 or ASTM D6380 standards in many areas. Consult with local building authorities to determine the specific requirements in your area.
A successful rolled roofing installation depends on proper execution. You'll need the right materials and a prepared work area. Here's a six-step guide to achieve a professional finish.
Clean the roof deck first. Remove debris, dust, and loose materials. Look for damaged sheathing and swap out rotted sections. Your surface should be dry to get the best adhesion. You may need to remove old roofing, although roll roofing can be applied over one existing layer. Use a push broom to sweep the surface. Fill gaps bigger than 1/4 inch with roofing cement.
The right alignment helps water run off properly. Measure 35 inches from each side of the roof's edge. Make a chalk line between these marks as your guide. This creates a 1-inch overhang that protects roof edges from water damage. Mark lines every 34 inches after that to get the right overlap.
Spread roofing cement 1/8-inch thick along the eave edge with a trowel. Make the cement strip 4 to 6 inches wide. Work on small sections so the cement stays moist before you apply the roofing material. Keep the application even without lumps or gaps that could become weak spots.
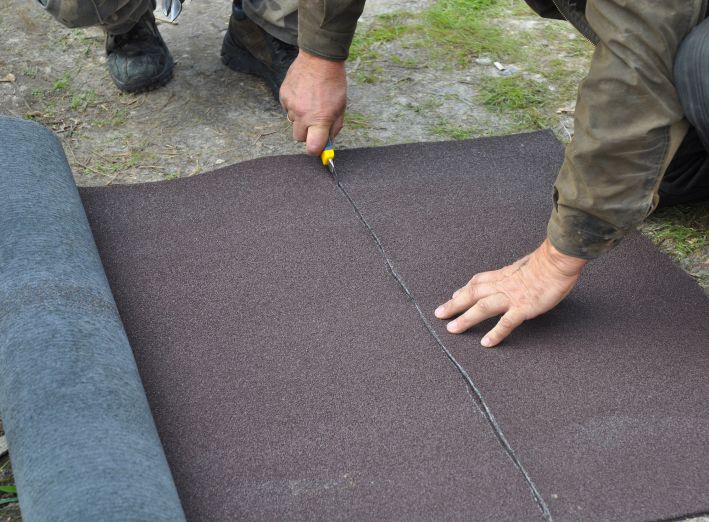
Cut a strip of rolled roofing 6 inches longer than each end of your roof section. Put the first sheet along your chalk line with its granular side up. Press it firmly into the cement from the center outward. This removes air bubbles. Nail it down 1 inch from the edge every 4 inches.
Add a 4-inch cement strip where you'll overlap the next piece. Place the next roll with a 4-inch overlap that lines up with your chalk lines. Press it down firmly and nail both top and bottom edges. Keep this pattern going until you reach the peak. Always work upward from the lowest point.
The finishing touches determine your roof's protection against the weather. Cut the material to fit around vents and chimneys. Leave a 1/2-inch gap. Use a generous amount of roofing cement around these areas and add metal flashing if necessary. Cut the valley material to extend 12 inches past the center on both sides. Add extra cement to secure it. Trim excess material at the edges. Apply a small amount of roofing cement to the exposed nail heads to seal them.
Your rolled asphalt roofing project requires some final steps to ensure it lasts longer. These finishing touches will make your installation stand out and keep it solid for years to come.
Walk across the roof and seal all nail heads with roofing cement after installation. This step keeps them from getting loose and prevents potential leaks. The nail heads won't leak immediately, but rust can allow water to seep down to the stem. Temperature changes might break the original seal and lead to major damage underneath.
Your razor knife will help trim any extra roofing material at the edges. Add another layer of cement to seal these edges for complete water protection. This gives your roof a clean appearance and provides additional protection against moisture.
Let the cement dry, then clean your roof to remove dirt, debris, loose nails, and mud. You should take photos and create a roof log to document your work. This helps with warranty claims and insurance needs later.
Good maintenance can double the life of your roll roofing from 5 to almost 10 years. Here's what you need to do:
Rolled roofing costs significantly less than other materials, which makes it a major advantage. DIY enthusiasts will find the installation process simple because it needs just a few basic tools. The lightweight material puts less stress on buildings. You can cover large areas faster because the material comes in rolls.
Rolled roofing only lasts 5-15 years, while asphalt shingles or metal roofing can last 20-30 years. Your home's curb appeal might take a hit because the material looks plain and comes in a few color choices. Additionally, it is most effective on low-slope roofs (pitch less than 3:12).
The low upfront cost may seem attractive, but it could lead to a drop in property value. Rain, snow, and strong winds can damage this thinner material more easily. Even with proper installation, leaks can develop over time, so it's essential to check it regularly.
These factors matter most for main buildings. For sheds or garages where long-term durability matters less than saving money now, rolled roofing might be your best choice.
Roll roofing serves as a practical solution for many roofing projects. It works especially well with outbuildings or structures that have low-slope roofs. In this piece, you've discovered the composition, types, installation process, and methods for managing roll roofing - an economical roofing option.
Roll-on roofing may not last as long as premium alternatives. However, proper installation can extend its durability by a lot. Your attention to each installation step, from surface preparation to the final sealing of nail heads, impacts its performance and longevity.
Regular upkeep plays a vital role after installation. Annual inspections, quick repairs, and periodic resealing help you maximize the value of your rolled roofing investment. Understanding the limitations of this material helps you choose the right option for different structures on your property.
Rolled roofing proves to be a practical choice for garages, sheds, and similar outbuildings where cost is more important than aesthetics. The simple installation process makes it a suitable DIY project for homeowners with basic tools and construction experience.
Note that rolled roofing may not provide as much protection as more expensive materials. Yet it provides excellent value when installed and maintained properly. The knowledge from this piece will help you tackle your roll roofing project with confidence and achieve professional results that protect your structure for years to come.
GET THE ESSENCE OF RELEVANT HOME
IMPROVEMENT TOPICS IN LESS THAN 5 MINUTES

Standard Window Sizes: What Every Homeowner Must Know
Standard window sizes make the buying process easier, faster, and more affordable for most homeow...

Today's homeowners prioritize door security without sacrificing style. Today's new front doors co...

Thanks for joining our homeowners’ community.
Stay tuned!
Choose the category
Choose the category