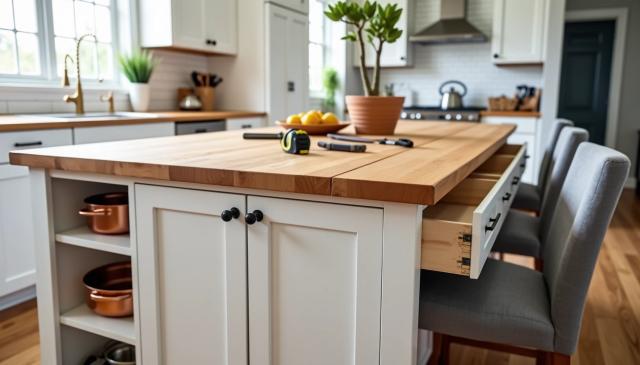
Your Perfect DIY Kitchen Island: Step-by-Step Plans & Mon...
DIY kitchen island plans can add up to 30% more functional space to your kitchen while saving you...

Ready for an interior update but hoping to skip the full-blown construction drama? If your ceiling isn't leaking water, your floors are intact, and you're not battling arctic winds through your window gaps, you can easily achieve a cosmetic glow-up! Forget changing the layout or hiring a fleet of outside pros. All you need is one free weekend and a budget under $1,000 to transform your space. We've prepped 7 simple DIY projects for upgrading your house—all totally achievable in a two-day window. Take a look, flag the most feasible and high-priority ones, and get ready to draw up a tool and material shopping list. Time to get that weekend project started. Just a little bit of inspiration and some elbow grease, and you'll breathe new life into your place in just two days!
When it comes to home improvement, whether it's a quick DIY project or a full-scale pro renovation, prep work is an absolute necessity. Don't skip the basics!
Begin by creating a detailed inventory of all the tools and materials you'll need. Next, analyze market prices and crunch budget numbers. If the total looks higher than expected, consider where you can be creative to save money. Usually, that means renting gear instead of buying new, or grabbing pre-owned equipment. You can also score awesome deals on furniture and decor by shopping secondhand or hitting up the sales rack!
Next, select your battleground, namely what you can realistically achieve in two days, and how many helpers are joining the mission? Painting walls or kitchen cabinets, swapping out light fixtures, or updating textiles are all A+ options for a weekend reno. Estimate the time for every task to avoid panic or rushing. Don't get too ambitious, as you risk abandoning the project halfway. It's way better to finish a smaller section flawlessly than to have to redo everything later!
Once you've decided on your tasks, prepare the workspace. Clear out all the clutter and protect your surfaces. If you have kids or pets running around, make sure they are safe and sound somewhere else. Depending on the specifics of your project, it is advisable to use gloves, a mask, and safety goggles. Never work at height without the proper gear and preparation. And if you're dealing with lighting, flip that main power switch off first!

If you're ready to level up, try layering a few light sources at different heights, think floor lamps, table lamps, and string lights, to create a cozy atmosphere and change the entire mood depending on your vibe.
Also, integrate some dimmable lights. Such an easy DIY project will let you switch the mood from bright, daytime energy to a chill, peaceful evening glow. It's the ultimate hack for making your room flexible and multifunctional.
Here's a cool hack: LED light strips! You can hide them behind crown molding or use them to illuminate shelves, creating a super unique and unexpected visual effect.

To start, you'll want to disassemble your furniture, repair or replace any damaged pieces, and remove the old, tired finish. Once the surface is clean and smooth, you can move on to the fun part: painting and decorating! Before you do, though, it's smart to lay down a coat of primer.
If you're changing the color, the secret is a smart palette choice, so the piece actually vibes with your existing décor. Today, it's trendy to paint furniture to create cool effects like antique distressing, intentional cracking, or a touch of faux gold. The main thing is to have a clear vision of the final look you're chasing.
The finishing touch is a layer of lacquer, which acts as a protective shield, preserving your creative masterpiece in time.
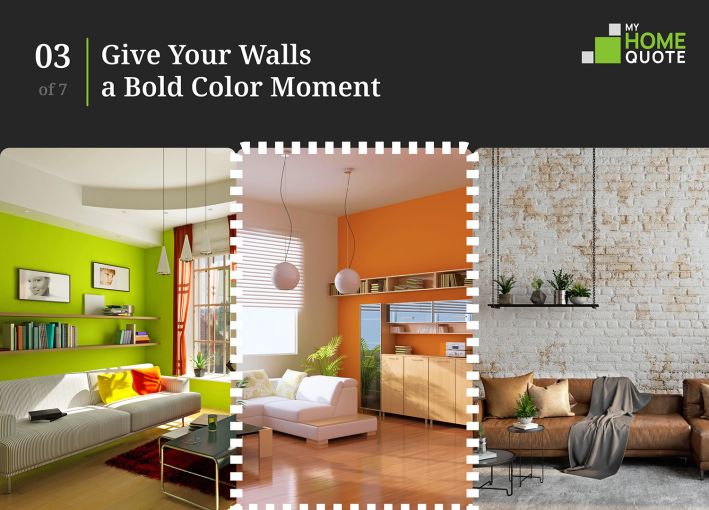
If you're not up for painting all four walls, create an accent wall. One bright or textured feature wall can give the room a completely new look without a huge time commitment. Just make sure the color you pick plays nicely with your existing décor for maximum harmony.
Looking for something totally outside the box? Consider decking out one accent wall with a mural. A DIY painted mural can look just like wallpaper, but it costs way less while amping up the color and personality of the room. If you're not 100% confident in your artistic skills, start by sketching the design with a pencil, and then bring in the color.
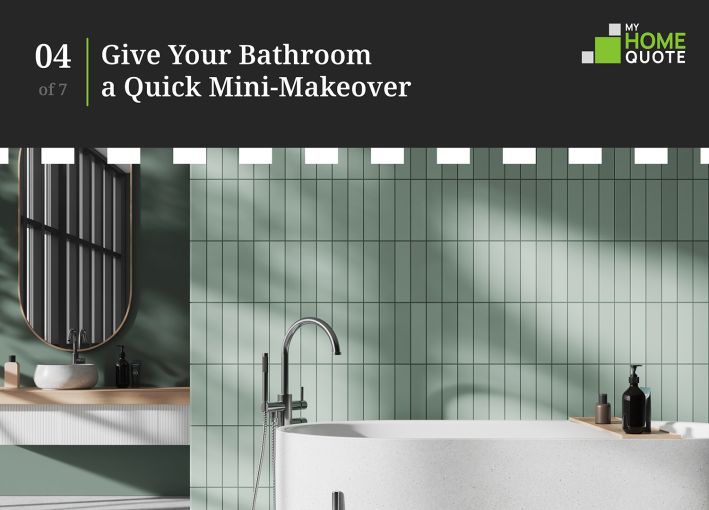
If the grout is looking faded, crumbling, or simply outdated, it's smarter to replace it. Choose a moisture-resistant or epoxy grout—it holds its color longer and acts as a better waterproof seal. After this refresh, your joints will look brand-new, and the whole room will get a fresh look without the crazy expense.
To make that flawless look last longer, seal the grout with a protective sealant that creates a water-repellent film, locking moisture out and preventing mold.

You can also update the hardware. New handles, a sleek brass house number plate, or a modern door knocker can sometimes make a bigger difference than the paint itself. If you have a lantern or potted plants nearby, coordinate the shades to create a chic, cohesive composition at the entrance.
The main rule: don't be afraid to experiment! Your door is the first thing guests see, so let it tell the story of your style and vibe.

Grab some new bedding and a throw, replace those old sofa pillows, and consider updating the chair slipcovers. If you're doing this right before the holidays, look for thematic decor and seasonal textiles, like cozy throws in festive shades, winter-patterned pillows, or candles in a stylish holder. These small touches are the ultimate mood boosters, making your home feel warm and inviting.
You could also swap out your curtains or blinds, but be aware that this can take a little more time. If you can't find the perfect size off the shelf, you might have to wait for a custom order.

Stick to the same color for a surface refresh or pick a whole new shade to change the mood of the space. For example, white cabinets make the kitchen brighter, while navy or emerald green add depth. For extra style points, try contrasting hardware or a two-tone scheme (lighter on top, darker on the bottom).
Since this is a kitchen, choose a paint that's resistant to moisture, steam, and constant cleaning—look for an acrylic or alkyd enamel labeled as washable or moisture-resistant.
Finish the upgrade with some fresh new hardware, like handles and hinges. This small DIY project transforms the kitchen's vibe in just a weekend, giving it a modern look without the chaos of a full renovation.
If your home isn't fresh from a renovation, it's not a reason to panic—it’s just a blank canvas for creativity! You can always try your hand as a real decorator who can breathe new life into any interior. Try out these ideas and enjoy the results without major spending or physical strain.
GET THE ESSENCE OF RELEVANT HOME
IMPROVEMENT TOPICS IN LESS THAN 5 MINUTES

Your Perfect DIY Kitchen Island: Step-by-Step Plans & Mon...
DIY kitchen island plans can add up to 30% more functional space to your kitchen while saving you...

As the U.S. Centers for Disease Control and Prevention (CDC) warns, about 80% of falls among olde...

Thanks for joining our homeowners’ community.
Stay tuned!
Choose the category
Choose the category